
DIY Guide: Applying Vinyl Wrap to Your Car


Introduction to Vinyl Wrapping
Vinyl wrapping is a popular way to give your car a fresh look without the expense and permanence of a new paint job. Whether you're looking to change the color, add a custom design, or protect your car's original paint, applying a vinyl wrap can be a rewarding DIY project. In this guide, we'll walk you through the process step-by-step, ensuring a professional finish.
Gathering Your Tools and Materials
Before you start, it's essential to gather all the necessary tools and materials. You'll need:
- Vinyl wrap of your choice
- Squeegee
- Heat gun or hair dryer
- Utility knife or cutting tool
- Surface cleaner and microfiber cloth
- Measuring tape
Having everything ready will make the application process smoother and more efficient.
Preparing Your Car's Surface
The first critical step in applying vinyl wrap is to ensure your car's surface is clean and smooth. Use a surface cleaner and a microfiber cloth to remove any dirt, grease, or wax. A clean surface will help the vinyl adhere properly and prevent bubbles and wrinkles.
Next, inspect your car for any dents or imperfections. If needed, use filler to smooth out these areas, as vinyl will highlight any inconsistencies.
Measuring and Cutting the Vinyl
Once your car is clean and ready, measure each section where you'll apply the vinyl. This step is crucial for ensuring you have enough material and avoid wastage. With your measurements in hand, cut the vinyl to the appropriate sizes, leaving a little extra to account for errors during application.
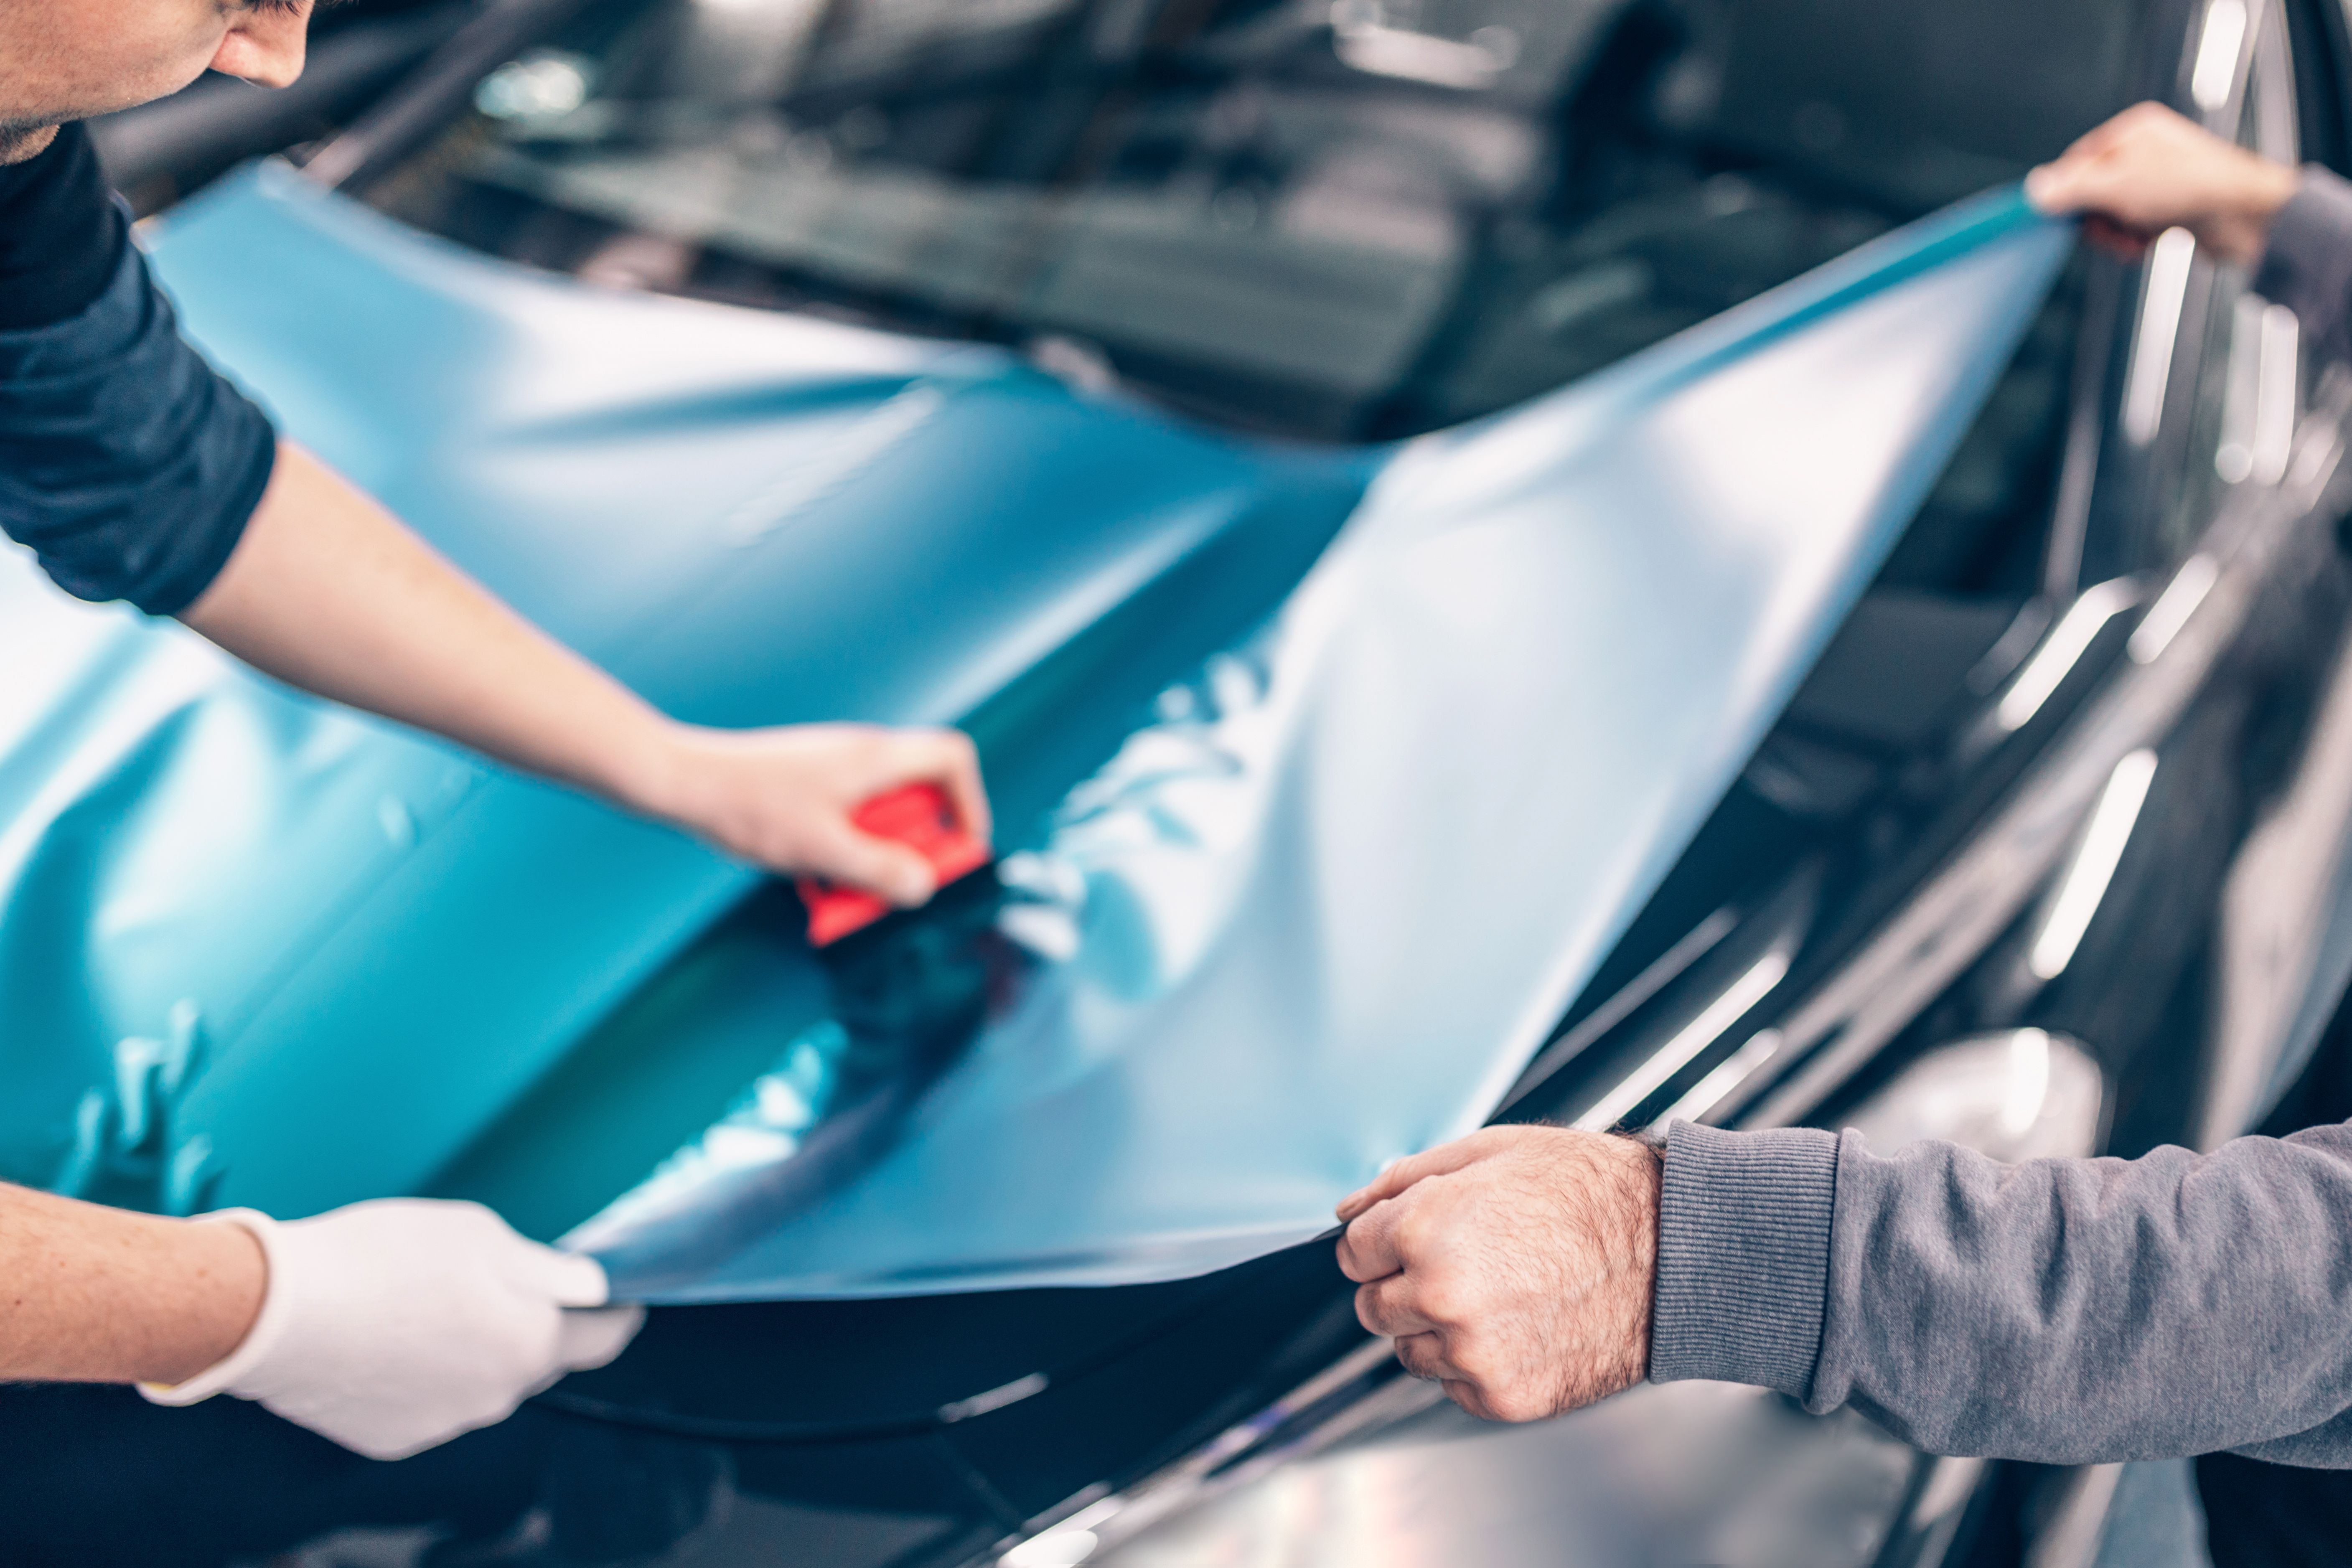
Applying the Vinyl
Now comes the fun part—applying the vinyl wrap! Start with smaller sections like mirrors or bumpers if you're new to vinyl wrapping. Peel back a small portion of the backing paper and carefully align the vinyl on your car. Use a squeegee to press down the vinyl, working from the center outwards to remove air bubbles.

Using Heat for a Smooth Finish
A heat gun or hair dryer is your best friend when it comes to achieving a smooth finish. Gently heat the vinyl as you apply it, which helps it stretch and conform to curves and edges. Be cautious not to overheat the vinyl, as it can warp or melt.
If you encounter bubbles, use the squeegee to push them towards the edge of the vinyl, or gently lift the vinyl, heat it, and reapply.
Trimming and Final Touches
Once all sections are applied, it's time for trimming. Use a utility knife or cutting tool for precise cuts along the edges of panels, door handles, and other features. Take your time to ensure clean lines and avoid damaging your paint.
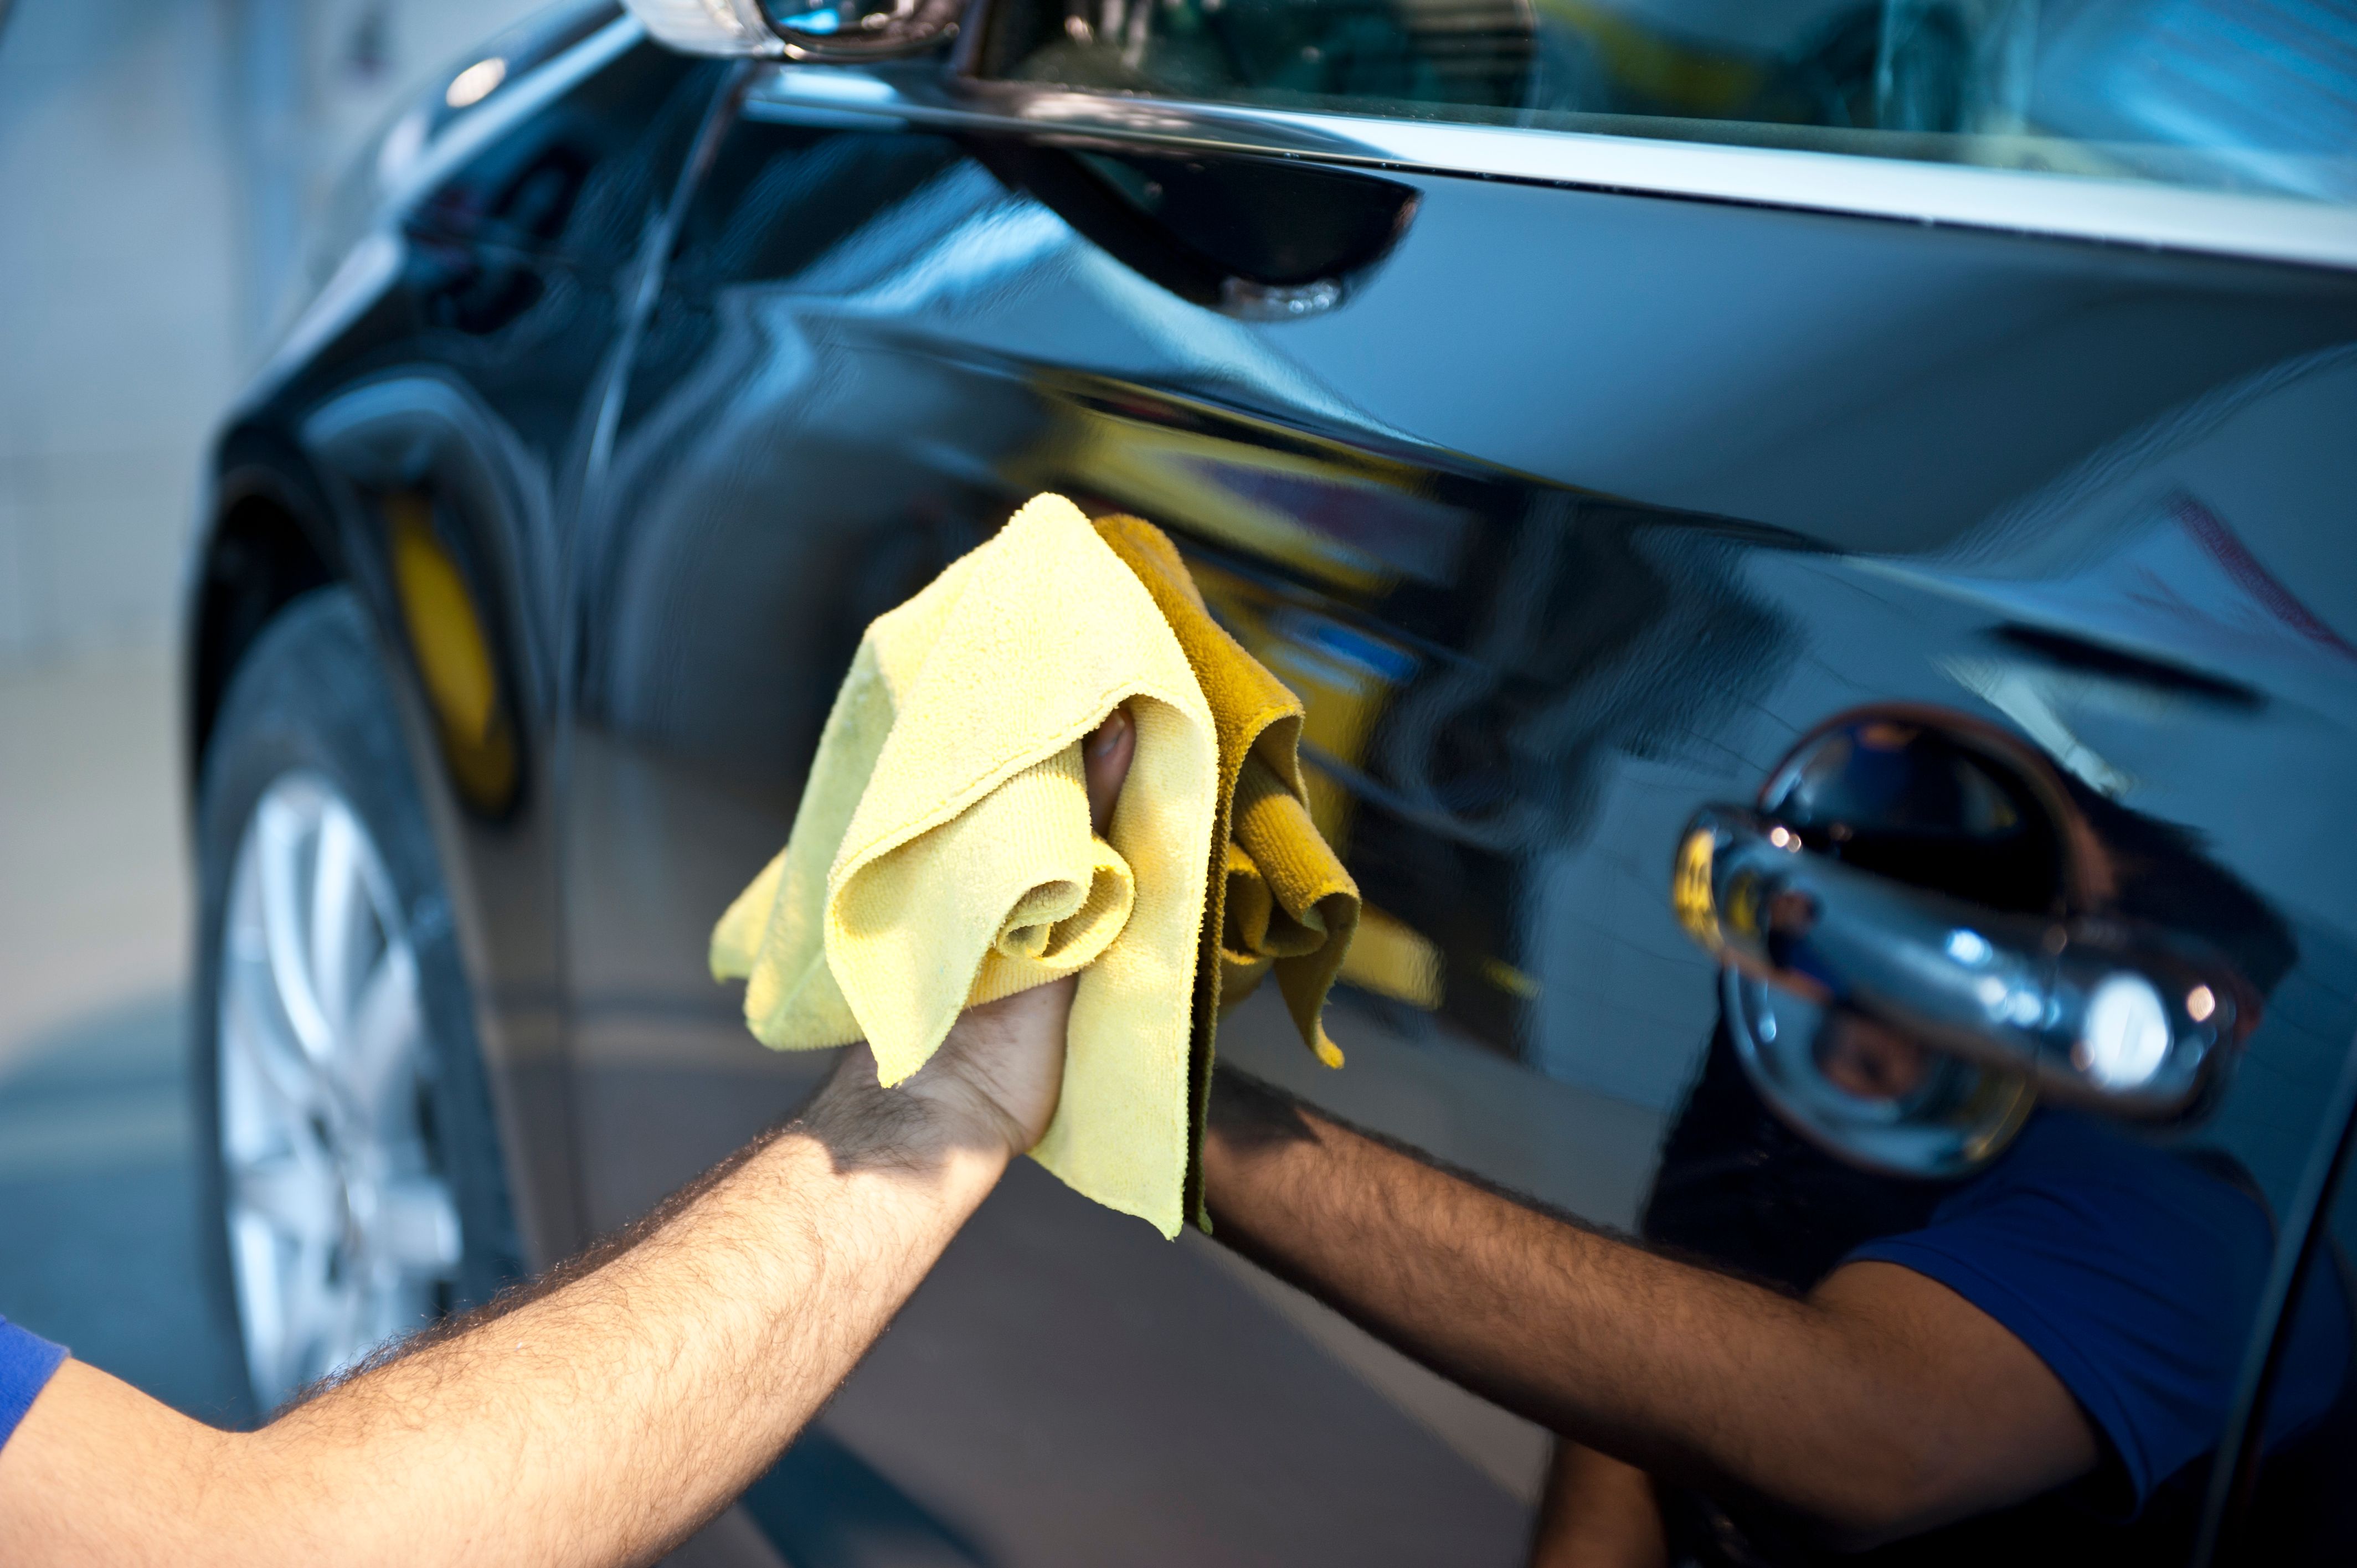
Caring for Your Vinyl Wrap
After successfully applying your vinyl wrap, proper care will keep it looking great for years. Regularly wash your car with mild soap and water, avoiding harsh chemicals that can degrade the vinyl. Consider investing in a cover if you park outdoors often, as prolonged sun exposure can fade colors over time.
Conclusion
Applying a vinyl wrap to your car can be a fulfilling DIY project that dramatically transforms its appearance. With patience and attention to detail, you can achieve professional results that last. Whether you're customizing your ride for personal expression or protecting its paint job, vinyl wrapping is an excellent choice for car enthusiasts.